


How to Setup a VPN on Windows Vista
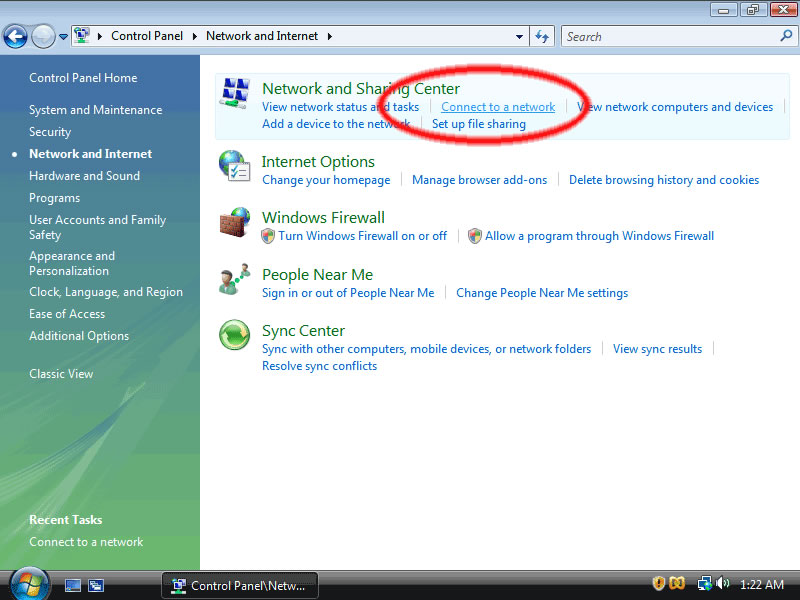
If you want to connect to the internet, you may be wondering how to setup a VPN on Windows Vista. To start using the new VPN, you must go to the “Connect to a server” menu in your system. The first step is to find the server address and enter the connection name. You can find the address in your VPN account. You will also need to set up a username and password. After that, you need to tap “Save.” You will then need to enter your credentials to connect to the VPN.
To add a VPN service, you need to open the Network settings on your Mac. Click the plus sign on the left and select the option “Connect to a VPN server.” The next step is to add a user to the VPN. It is best to create strong passwords for these users to be sure that only you have access to their computer. Once you have done this, you can close the Settings application. The Wi-Fi icon should appear in your taskbar or system tray. In the list, click on the newly created VPN connection and wait for it to automatically connect. The connection process should be quick and painless.
To add users, open Network settings in your system and add their user names and passwords. A strong password is recommended, so that only you and your VPN service provider can access the internet. Then, select the Network software you want to add to your Mac, and choose “Allow Access” from the options. If you need to add more users, select “Allow access” and enter the user’s name and password.
Once you have added a user, you can increase security by adding their IP address. The username and password must be strong and unique. After adding users, select “Allow Access” and follow the prompts. When the window appears, you will see the “Incoming Connections” icon. This is where you should enter the IP addresses you want to connect to. Once you have entered the IP address and password, click on Allow Access.
You can now choose a VPN service provider on your PC. After choosing the right VPN service, you should choose the location for the VPN server. This will be your gateway. It will allow you to access websites from other computers without the need to worry about the IP address being blocked. Using a VPN on your PC will keep your personal information private and safe. The VPN will also allow you to connect to apps that you’d normally not be able to access on your computer.
The next step in the process of setting up a VPN on Windows 10 is to choose a VPN service provider. If you are using a Mac, you can select a service provider that offers free trials. Usually, the first option will be to choose a VPN service provider. Once you have chosen your VPN provider, you’ll need to add the details that the VPN service needs. This will help your VPN services work with your Mac.
Once you’ve selected your VPN service, you will need to enter your username and password. These credentials will be provided by the VPN service. Once you’ve entered your password and username, you should close the Settings app. Locate the Wi-Fi icon in the system tray or taskbar and click on it. The newly created VPN connection should now appear in your list of available connections. It should connect automatically. You can now browse the internet using your VPN.
Once you’ve selected your VPN service provider, you need to enable incoming connections. You can do this by going to the “Network” section and clicking the “Allow Connections” tab. After that, you can select the IP address of your VPN service provider. Input the password and click the Allow Connections button. Once this has been done, your VPN is ready. The VPN service will then provide you with the credentials needed to connect to your network.

 | ExpressVPN Fast, anonymous browsing all over the world | |
 | NordVPN Enjoy online privacy and security with a reliable VPN | |
 | Cyber Ghost Browse anonymously with reliable security | |
 | SurfShark Affordable and reliable VPN for secure browsing | |
 | ZenMate Experience the internet anonymously | |
Purevpn Keep your data secure with a VPN built for privacy |