

If you have Windows 7, then you may be wondering how to setup a VPN. Incoming sessions let other machines access your computer and can be helpful if you’re trying to access documents or media files from a different computer. The built-in VPN client in Windows 7 is easy to use and can be configured in a few steps. Here’s a quick overview. The main steps are: First, you should go to the Network and Sharing Center and click the Change Adapter Settings button. On the Security tab, make sure to check the CHAP boxes and Data Encryption.
The next step is to choose the VPN server you want to use. You can do this by selecting a network from the list of available networks. Once you’ve selected a server, Windows 7 will automatically establish a connection to the server. Once connected, you’ll need to click the Connect button to open the VPN connection. To get started, you’ll need an active internet connection. In Windows 7, you can choose to allow the VPN to access your network, or you can allow it to connect to your local network instead.
Once you’ve selected a VPN server, you can then start using it. Windows 7 will prompt you to enter a username and password. This password will be provided by the VPN service. Once you’ve done this, close the Settings app. Next, open the Wi-Fi icon in the taskbar or system tray. The newly created VPN connection should be at the top of the list. The computer will automatically start the connection process.
After setting up the VPN server, you should connect to it via the internet. Then, Windows will confirm the connection and close the VPN connection. If the VPN connection was successful, your computer will connect to the VPN server. To use the VPN, you must have a functioning internet connection. If your internet connection is unavailable, you will need to disable the VPN server. You will also need to set the VPN proxy to avoid losing internet connections.
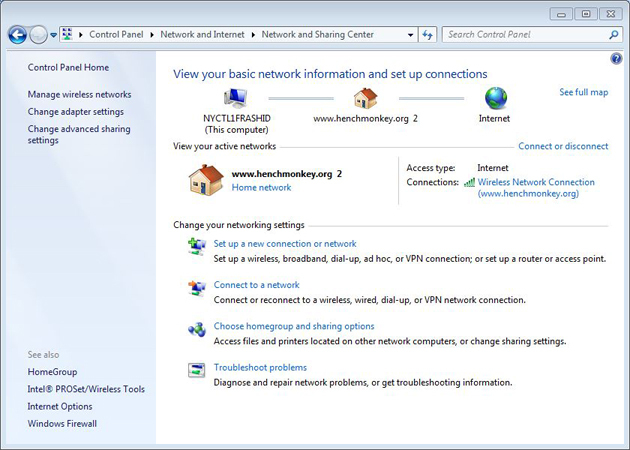
In Windows 7, you need to have an internet connection. To do this, open the Network and Sharing Center, which is located in the lower right corner of the screen. Locate the VPN icon and click the Connect button. You will then need to enter a username and password to access your VPN. Once you’ve done this, you can click on the VPN icon and connect to the server. Once connected, you should now have access to the web.
Once you’ve successfully connected to the VPN server, Windows 7 will automatically establish a connection to the VPN server. Afterwards, you’ll need to provide a username and password to access your VPN. After that, you should save the properties of your network. Once your VPN connection has been established, you’re ready to connect to the internet. If you have questions, feel free to comment below.
Once you’ve completed the steps above, you can then proceed to the next step. In Windows 7, open the Network and Sharing Center by clicking the network icon in the bottom right corner of the screen. Once you’ve done this, you can see the VPN connections that you’ve created. After completing the steps above, you can connect to the VPN whenever you like. If you don’t have an internet connection, then the VPN connection will not work.
Once you’ve gotten the network and sharing center, you need to click on the “Network and Sharing Center” icon in the bottom left corner of your screen. Once in the Network and Sharing Center, you can see the connections that are already configured on your computer. Depending on your settings, Windows 7 may even remember the password for your connection. However, if you need to change it, you should restart your computer.
Once you’ve selected the VPN, you should be able to connect to it. After logging in to the server, you’ll need to enter a username and password for the VPN. Once you’ve done this, close the Settings app and open the Wi-Fi icon in the taskbar. Now, you should be able to see the newly created VPN connection. It should automatically connect to the VPN.

 | ExpressVPN Fast, anonymous browsing all over the world | |
 | NordVPN Enjoy online privacy and security with a reliable VPN | |
 | Cyber Ghost Browse anonymously with reliable security | |
 | SurfShark Affordable and reliable VPN for secure browsing | |
 | ZenMate Experience the internet anonymously | |
Purevpn Keep your data secure with a VPN built for privacy |